If you are building a home, plastering is the stage where the rooms finally start to look like rooms. It also happens fast, so it helps to know what each step is and what to look for before the painter arrives.
Stage 1: Hanging the sheets
Once the frame, wiring and insulation are in, plasterboard is fixed to the ceilings first and then the walls. Ceilings go up first so the wall sheets can hold the ceiling edges tight. Wet areas such as bathrooms and laundries use moisture-resistant board, and the builder's plans will say where.
Stage 2: Cornice and details
Cornice is fitted where the ceiling meets the wall, and any bulkheads, niches or square-set details are formed. Straight lines here depend on the framing behind them being straight, so any problems with the carpentry tend to show up at this point.
Stage 3: Taping and setting
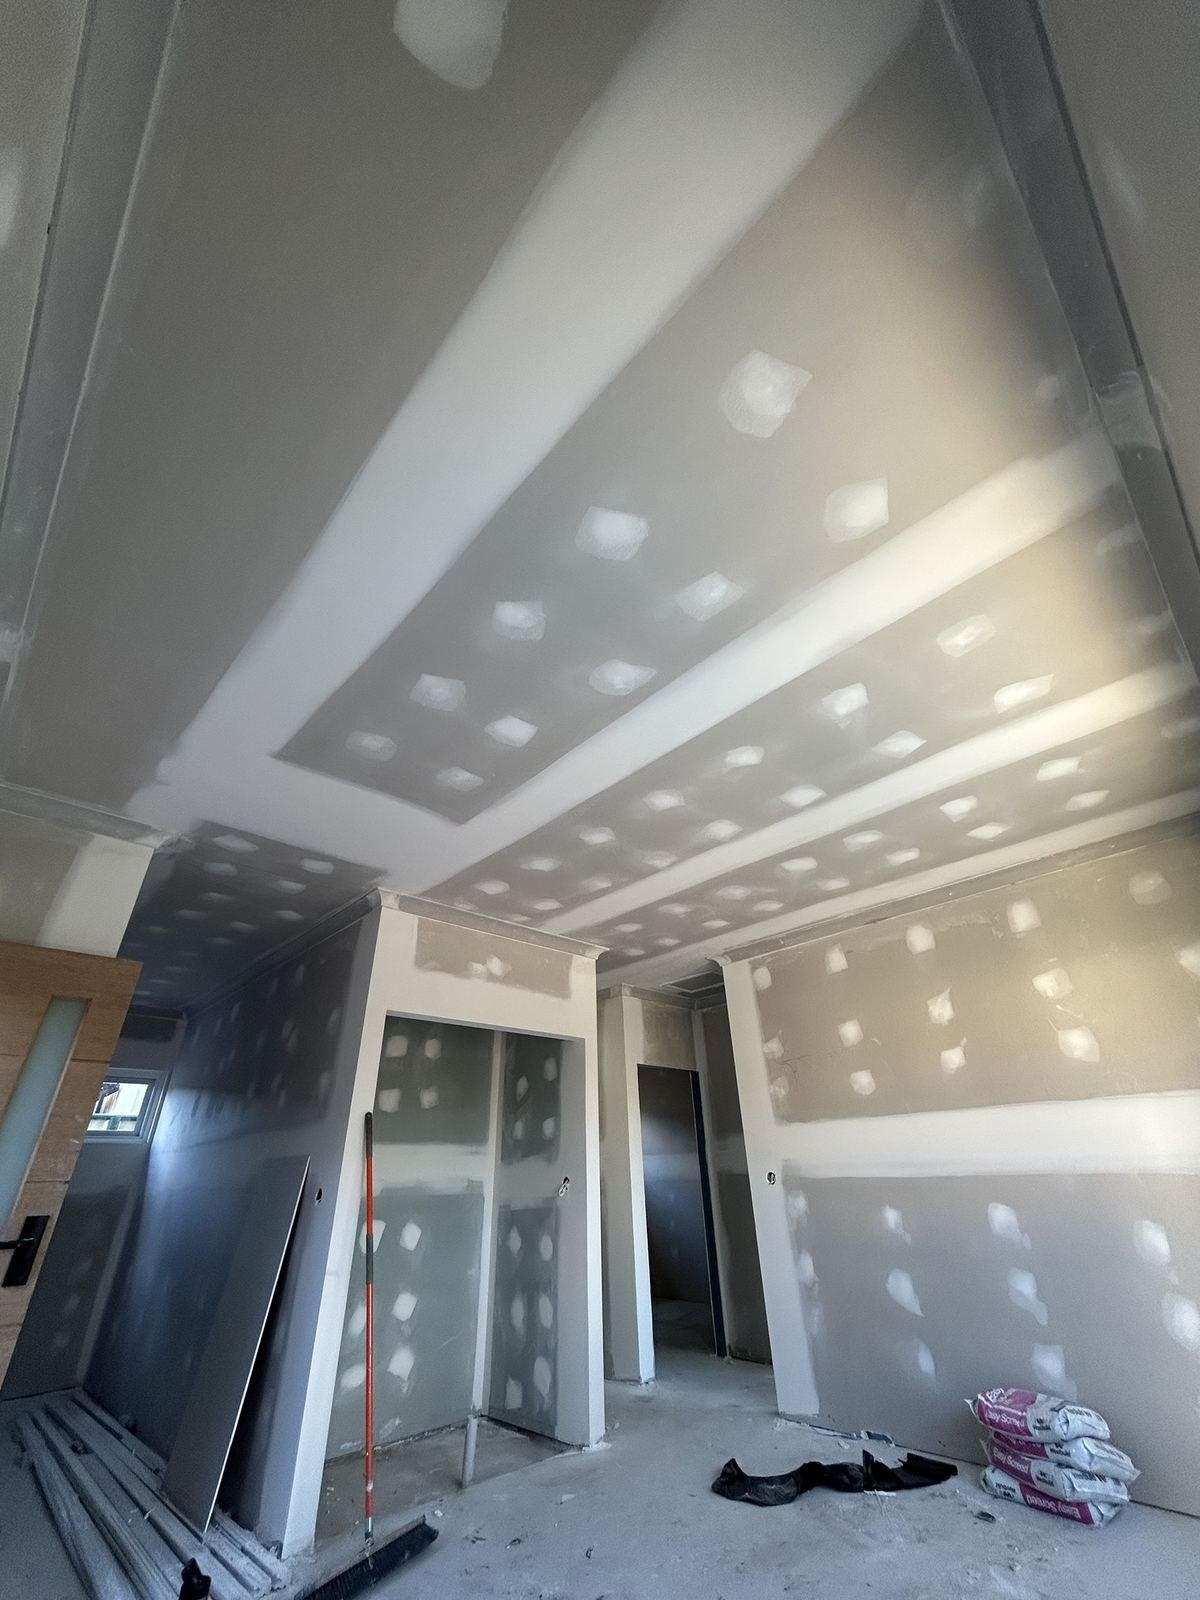
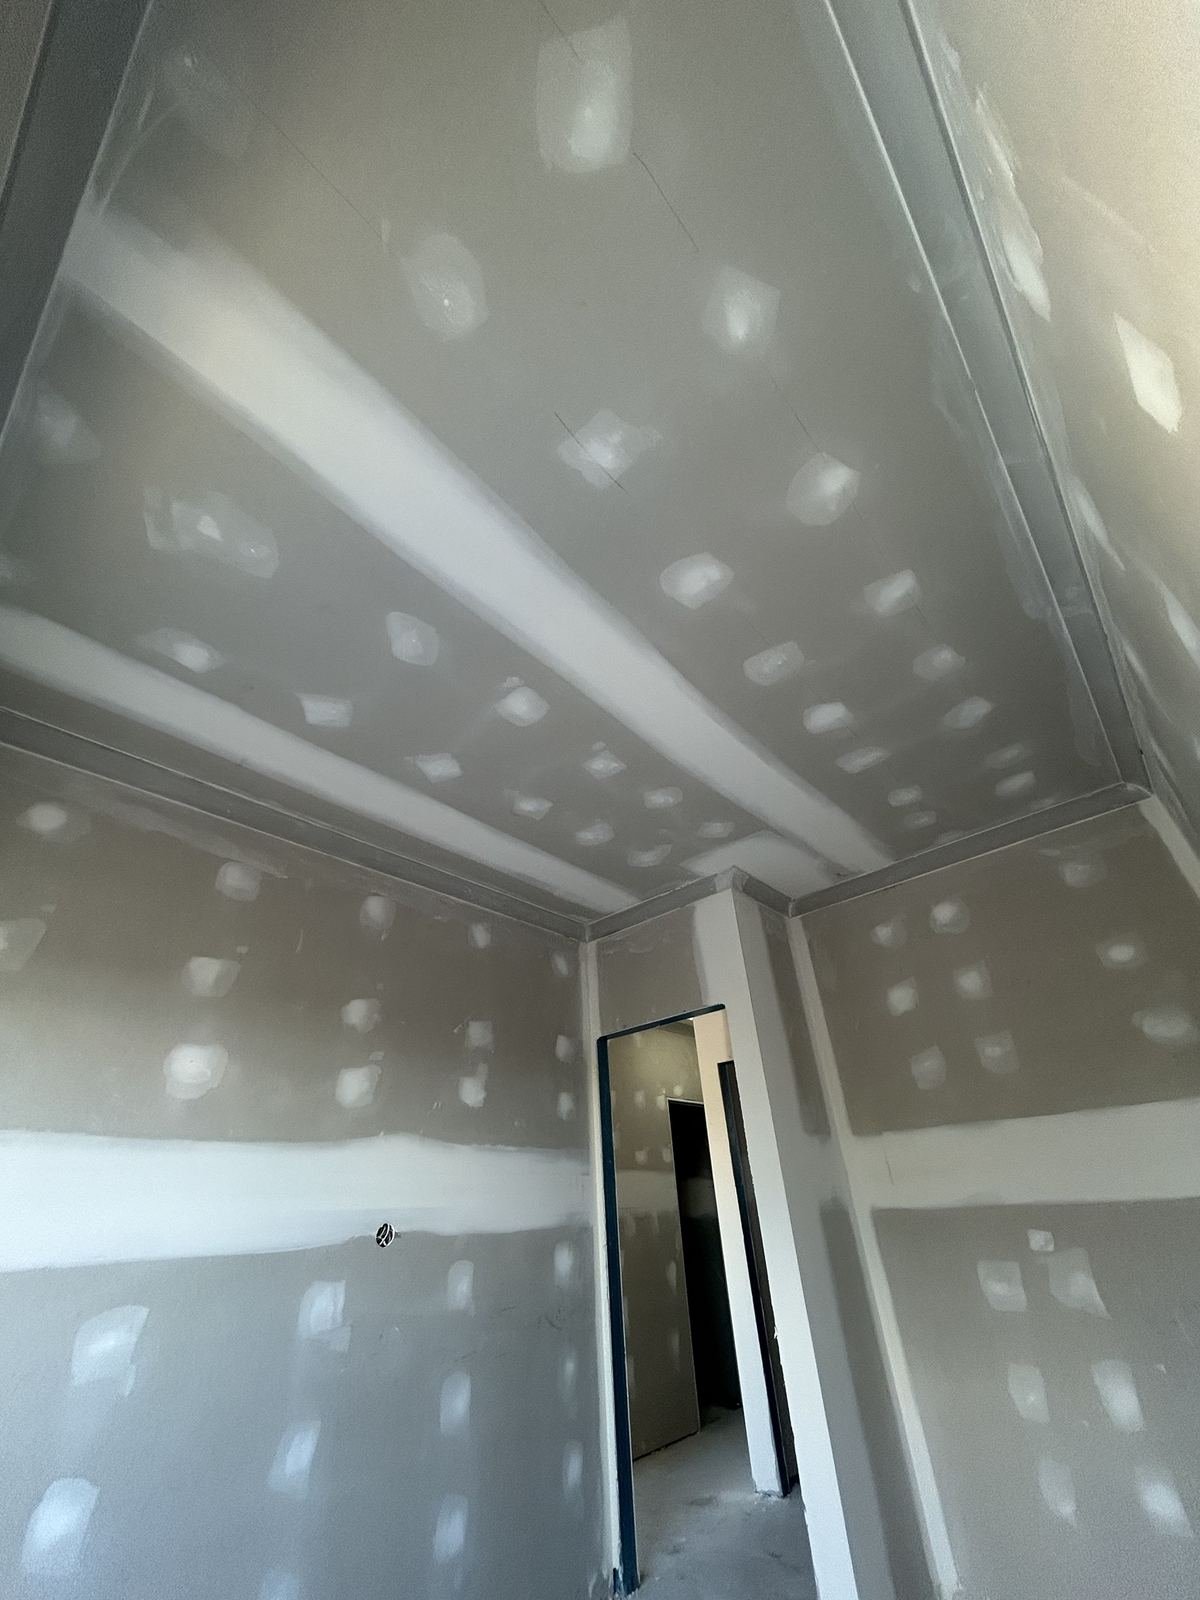
Joints and screw heads are covered with tape and set compound in coats. You will often see the patchy look in the photos, where the plasterboard has pale compound over the joints and screws. That is normal. It is not finished until the final coat is sanded.
Stage 4: Sanding and inspection
After the final coat dries, the surface is sanded smooth. Before the painter starts, it is worth doing a walk-through with a strong torch held at a low angle along the wall and ceiling. Raking light shows up any ridges, hollows and joint lines that normal lighting would hide.
Why we use stilts on ceilings
On a new build, ceilings are large and open, and stilts let us move along the full length of a room and keep a consistent finish without constantly moving ladders. They also take time to learn to use safely, and our team is trained and signed off on them before they use them on site.
Before the painter arrives
- Check joints and corners in raking light and mark anything that needs another pass.
- Make sure the builder has finished all wiring and plumbing that needs to go through the walls. Cutting plasterboard after setting means patching.
- Keep the house clean and dry. Moisture in the air can slow the drying of compound.
If you are a builder or owner looking for a plasterer for a new home, see our page on ceiling renovations and new builds or send us your plans and we will get back to you with a written quote.
Frequently asked
It depends on the size of the house, but setting is done in coats with drying between them, so it takes longer than most people expect. We give a timeframe with the quote.
That is the set compound over the joints and screws. It is normal and disappears once it has been sanded, primed and painted.
Yes, and it is worth doing. Use a bright torch held at a low angle to spot any ridges or hollows that need another pass.
Need a hand?
RA Walls & Ceilings is a Forrestfield based wall and ceiling team, fully insured, with a written 12-month warranty. Send us your photos or plans for a free written quote.
Request a Free Quote